
Pikavastaus: Voiko aloittelija oppia käyttämään minikaivinkonetta?
Yes. Most first‑time operators feel comfortable after 2–4 hours of practice. Modern mini excavators have intuitive pilot‑operated joysticks, an ISO/SAE pattern switch, and excellent visibility. Start in an open area, practice basic movements, then move to simple tasks like digging a hole or trench. Always wear your seatbelt and perform a daily inspection before use.
Key learning timeline:
-
First hour: Move the machine, basic joystick functions.
-
2–4 hours: Dig a straight trench, simple grading.
-
1–2 days: Most homeowner projects (driveways, planting, light stump removal).
-
1 week: Fine grading, working near obstacles, using attachments confidently.
1. Before You Start – Safety and Inspection
Henkilökohtaiset suojavarusteet (PPE):
-
Hard hat, safety glasses, hearing protection, high‑visibility vest, steel‑toed boots, gloves, and always the seatbelt.
Daily pre‑operation check (5–10 minutes):
-
Visual walk‑around: Check for fluid leaks, damaged hoses, loose bolts, and track condition.
-
Fluid levels: Engine oil, hydraulic oil, coolant, fuel.
-
Grease fittings: Boom, arm, bucket linkage, swing bearing.
-
Function test: Cycle all controls to ensure smooth operation.
Rakennuspaikan valmistelu:
-
Call 811 to mark underground utilities.
-
Clear obstacles and establish a safety zone (no bystanders within swing radius).
-
Identify overhead power lines – keep at least 10 feet distance.
2. Hallintalaitteiden ymmärtäminen
Mini excavators use two joysticks for most operations. RIPPA machines feature pilot‑operated joysticks that require 30% less effort than mechanical linkages.
Vasen ohjaussauva:
-
Forward/back = swing left/right.
-
Left/right = dipper (arm) out/in.
Oikea ohjaussauva:
-
Forward/back = boom down/up.
-
Left/right = bucket curl/dump.
Jalkapolkimet:
-
Left pedal = left track forward/back.
-
Right pedal = right track forward/back.
-
Both pedals together = straight travel.
-
One forward, one back = spin turn.
Pattern switch: Most RIPPA models include an ISO/SAE selector. Choose whichever pattern feels natural – there is no “right” pattern, only comfort.
3. Aloittaminen – Ensimmäiset askeleet
Koneeseen syöttäminen:
-
Käytä kolmea tukipistettä. Älä koskaan hyppää.
-
Kiinnitä turvavyö – aina, myös lyhyillä matkoilla.
Moottorin käynnistäminen:
-
Varmista, että hallintalaitteet ovat vapaa-asennossa.
-
Käännä avain “on”-asentoon ja odota, kunnes hehkutulpan merkkivalo syttyy (diesel).
-
Start engine, let it warm up at low RPM for 3–5 minutes.
Perusliikkeet (harjoittele avoimella alueella):
-
Travel forward/backward using foot pedals.
-
Turn by pushing one pedal forward and pulling the other back.
-
Raise/lower the boom using the right joystick.
-
Swing left/right using the left joystick.
-
Curl and dump the bucket.
4. Kaivamisen perustekniikka
Kaivauskierto:
-
Position the bucket at the start of your cut.
-
Lower the boom and extend the arm.
-
Curl the bucket while pulling the arm back and slightly lowering the boom.
-
Raise the boom and swing to your dump location.
-
Open the bucket to dump material.
-
Swing back and repeat.
Vinkkejä tehokkaaseen kaivamiseen:
-
Let the machine do the work – don’t force it.
-
Use the arm (dipper) for most digging power – it has more leverage than the boom.
-
Keep bucket teeth angled slightly down.
-
Dig in layers (4–6 inches at a time) rather than trying to take a full bucket depth.
-
Never dig under the machine – keep tracks level and stable.
5. Kaivantojen kaivaminen
Vaihe vaiheelta:
-
Mark the trench line with stakes and string.
-
Position the machine with tracks parallel to the trench.
-
Start at the far end and work toward the machine.
-
Dig to full depth at the starting point, then move back.
-
Maintain consistent depth and slope (1–2% for drainage).
-
Stockpile spoil on one side, leaving room to work.
Depth control: Use the boom and arm together for precise depth. Check frequently with a tape measure or laser level.
6. Grading and Leveling
Using the bucket:
-
Open the bucket flat (like a blade).
-
Lower the boom until the bucket rests on the ground.
-
Drive backward slowly, keeping the bucket angle constant.
-
Adjust boom height to control cut depth.
Using a grading blade (recommended):
-
Attach the blade using the quick coupler.
-
Set blade angle (10–15° for pushing material sideways).
-
Lower blade to desired height, drive forward or backward.
Creating a crowned driveway:
-
Start at the center line. Push material to the right from center to edge.
-
Then push material to the left from center to edge.
-
The center will remain 1–2 inches higher than the edges.
7. Common Beginner Mistakes and How to Avoid Them
| Virhe | Miksi näin tapahtuu | Kuinka välttää |
|---|---|---|
| Kaivetaan liian syvälle liian nopeasti | Yritetään käsitellä liian paljon aineistoa | Ota 4–6 tuuman suupaloja, älä koko kauhan syvyydeltä |
| Unohtaa katsoa taakse | Keskittynyt kauhaan | Ota tavaksi: katso taakse ennen jokaista lyöntiä |
| Työskentely epätasaisella alustalla | Kone tuntuu epävakaalta | Tasoita kone ensin terällä |
| Joystickien liian tiukka pitäminen | Hermostuneisuus | Ota rennosti – ohjaimen hallintalaitteet ovat herkkiä |
| Turvavyön laiminlyönti | “Liikun vain vähän” | Käytä sitä aina – ROPS-suojarakenne toimii vain, jos olet sen sisällä |
8. Usein kysytyt kysymykset
K: Kuinka kauan kestää, ennen kuin tästä tulee sujuvaa?
A: Basic competency takes 2–4 hours. Proficiency for complex tasks (fine grading, working near obstacles) takes 20–40 hours of practice.
K: Tarvitsenko ajokortin, jotta voin käyttää minikaivinkonetta omalla tontillani?
V: Ei. Henkilökohtaiseen käyttöön omalla tontillasi ei vaadita lupaa. Kaupalliseen toimintaan saattaa sovelleta erilaisia sääntöjä – tarkista paikalliset määräykset.
K: Mikä on aloittelijoille vaikeinta?
A: Useiden ohjauslaitteiden samanaikainen käyttö (esim. puomin laskeminen samalla kun sitä käännetään). Harjoittele kutakin toimintoa erikseen ennen niiden yhdistämistä.
K: Voinko käyttää lisälaitteita aloittelijana?
V: Kyllä. Aloita tavallisella kauhalla. Kun olet tottunut siihen, lisää tasoituslehti tai peukalo. Vaihda työlaitteita pikaliittimen avulla – se vie ohjaamosta käsin 30 sekuntia.
9. Johtopäätös
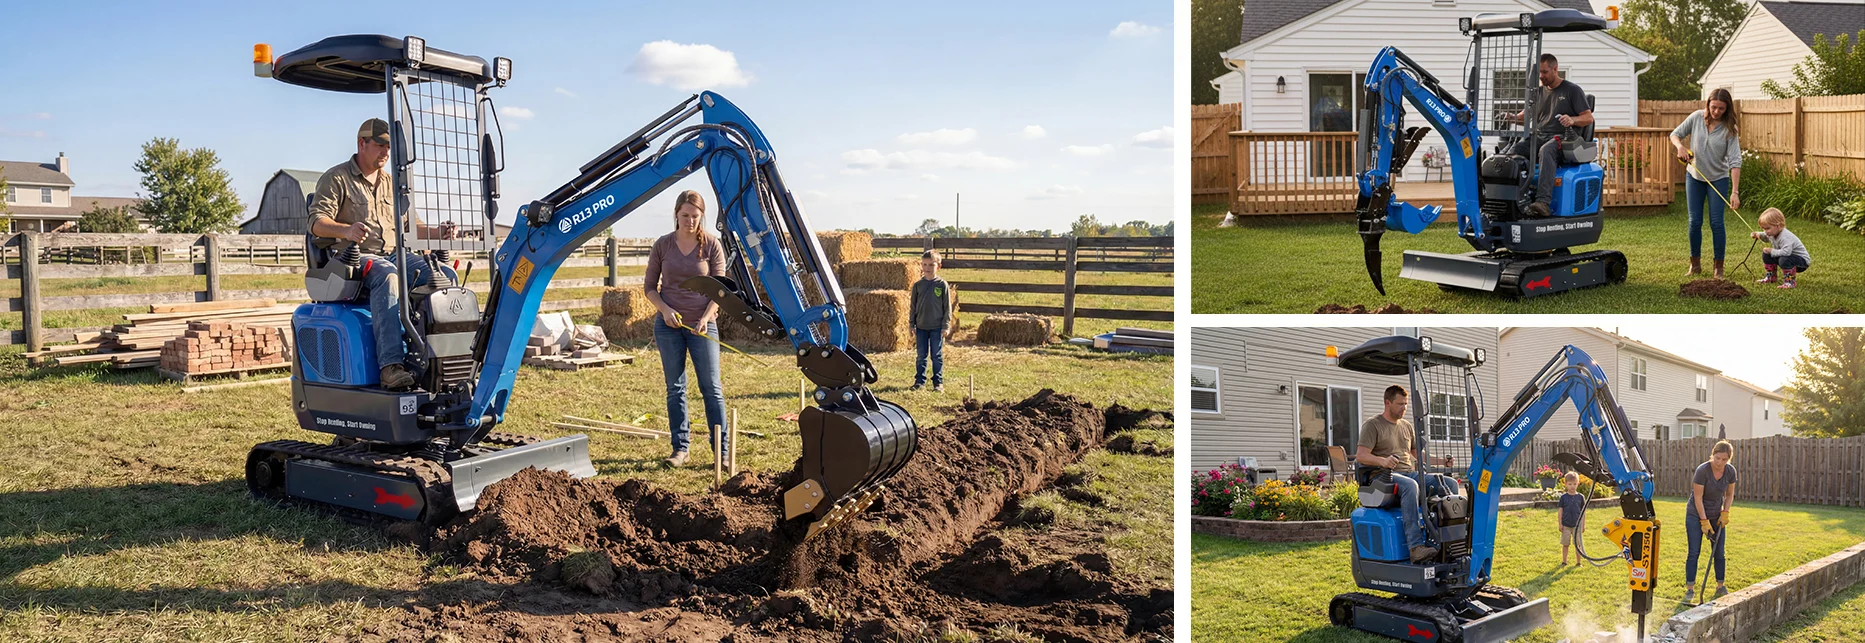
Operating a mini excavator is a skill anyone can learn with practice and patience. Start slowly, focus on safety, and build your skills progressively. Within a few weekends, you will be tackling projects you never thought possible. RIPPA machines are designed with beginners in mind – intuitive controls, safety features, and excellent visibility make learning easier.
Next step: Watch RIPPA’s beginner video series before your first operation, then practice in an open area for 2‑4 hours. You will be surprised how quickly you learn.
 Etusivu
 Tuotteet
 Sähköposti
 WhatsApp

