
Quick Answer: Can a Beginner Learn to Operate a Mini Excavator?
Yes. Most first‑time operators feel comfortable after 2–4 hours of practice. Modern mini excavators have intuitive pilot‑operated joysticks, an ISO/SAE pattern switch, and excellent visibility. Start in an open area, practice basic movements, then move to simple tasks like digging a hole or trench. Always wear your seatbelt and perform a daily inspection before use.
Key learning timeline:
-
First hour: Move the machine, basic joystick functions.
-
2–4 hours: Dig a straight trench, simple grading.
-
1–2 days: Most homeowner projects (driveways, planting, light stump removal).
-
1 week: Fine grading, working near obstacles, using attachments confidently.
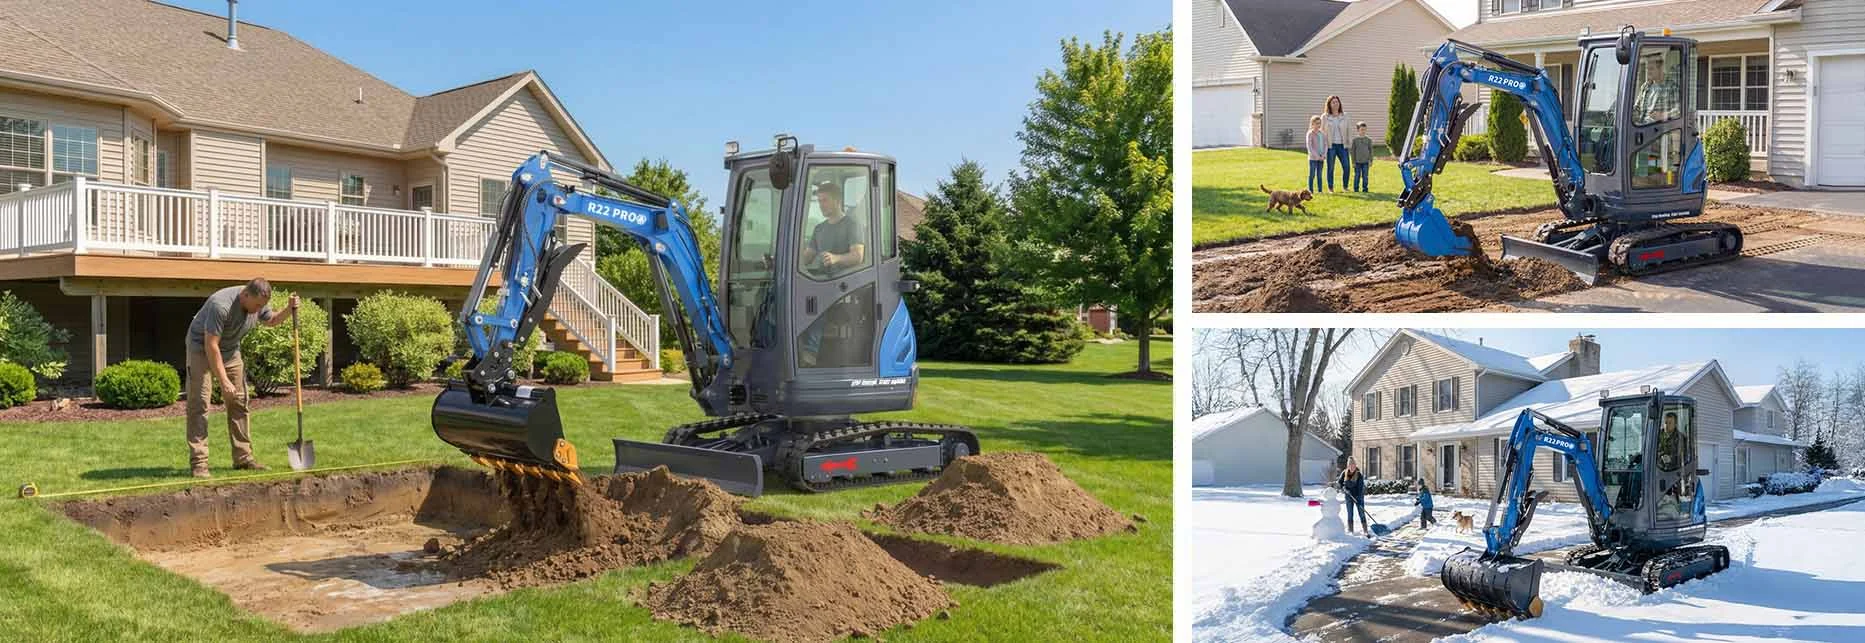
1. Before You Start – Safety and Inspection
Personal protective equipment (PPE):
-
Hard hat, safety glasses, hearing protection, high‑visibility vest, steel‑toed boots, gloves, and always the seatbelt.
Daily pre‑operation check (5–10 minutes):
-
Visual walk‑around: Check for fluid leaks, damaged hoses, loose bolts, and track condition.
-
Fluid levels: Engine oil, hydraulic oil, coolant, fuel.
-
Grease fittings: Boom, arm, bucket linkage, swing bearing.
-
Function test: Cycle all controls to ensure smooth operation.
Site preparation:
-
Call 811 to mark underground utilities.
-
Clear obstacles and establish a safety zone (no bystanders within swing radius).
-
Identify overhead power lines – keep at least 10 feet distance.
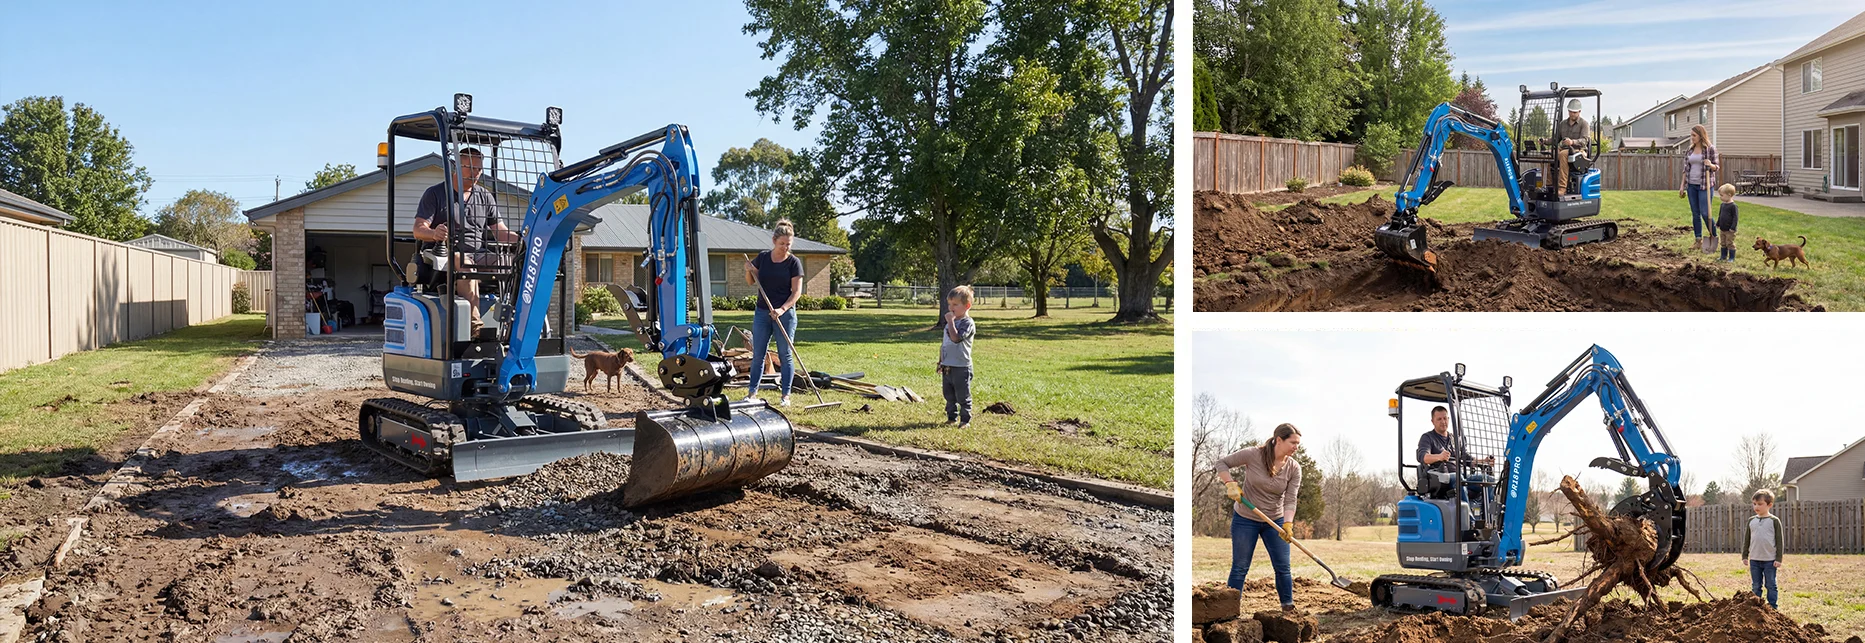
2. Understanding the Controls
Mini excavators use two joysticks for most operations. RIPPA machines feature pilot‑operated joysticks that require 30% less effort than mechanical linkages.
Left joystick:
-
Forward/back = swing left/right.
-
Left/right = dipper (arm) out/in.
Right joystick:
-
Forward/back = boom down/up.
-
Left/right = bucket curl/dump.
Foot pedals:
-
Left pedal = left track forward/back.
-
Right pedal = right track forward/back.
-
Both pedals together = straight travel.
-
One forward, one back = spin turn.
Pattern switch: Most RIPPA models include an ISO/SAE selector. Choose whichever pattern feels natural – there is no “right” pattern, only comfort.
3. Getting Started – First Steps
Entering the machine:
-
Use three points of contact. Never jump.
-
Fasten seatbelt – always, even for small moves.
Starting the engine:
-
Ensure controls are in neutral.
-
Turn key to “on”, wait for glow plug indicator (diesel).
-
Start engine, let it warm up at low RPM for 3–5 minutes.
Basic movements (practice in an open area):
-
Travel forward/backward using foot pedals.
-
Turn by pushing one pedal forward and pulling the other back.
-
Raise/lower the boom using the right joystick.
-
Swing left/right using the left joystick.
-
Curl and dump the bucket.
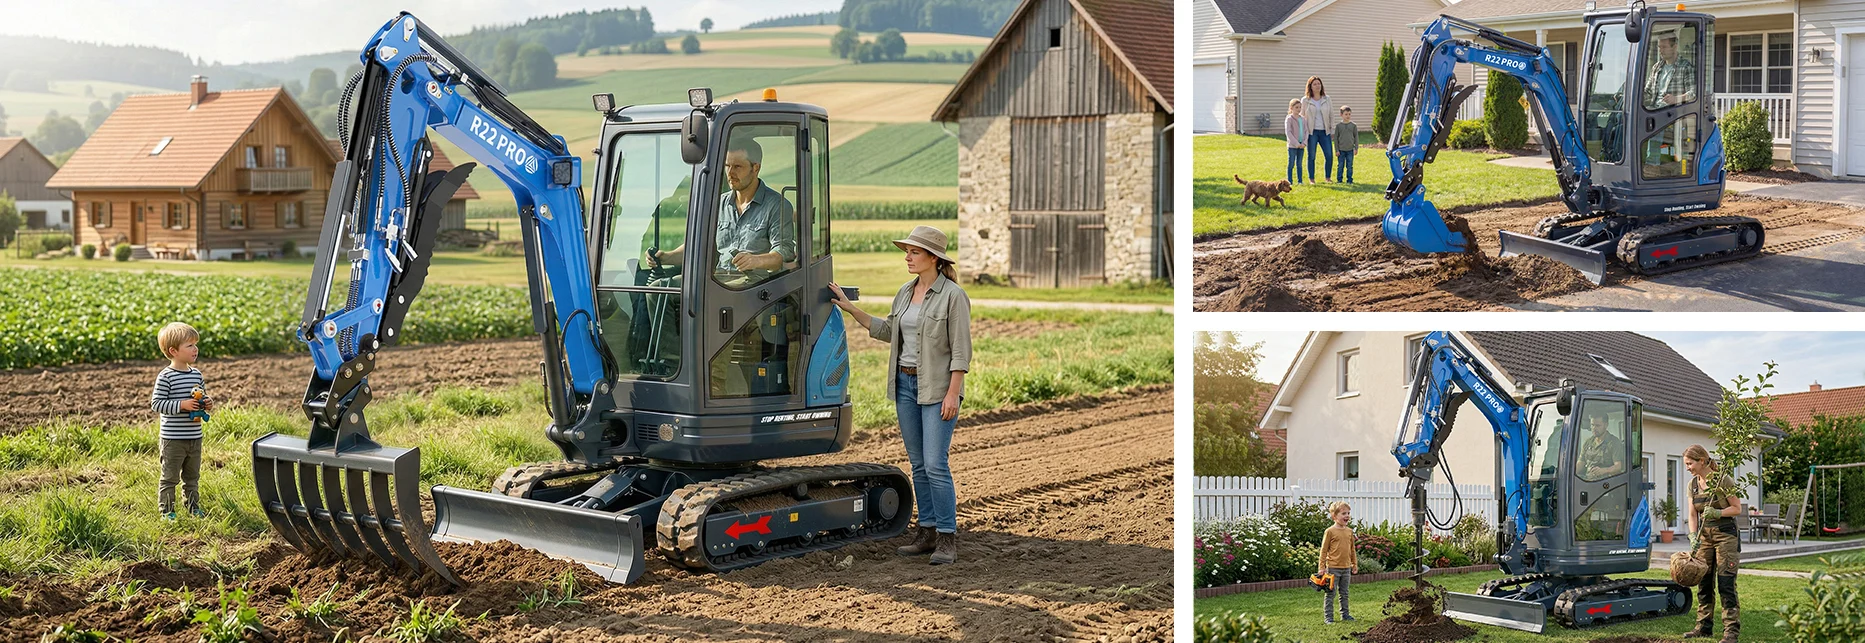
4. Basic Digging Technique
The digging cycle:
-
Position the bucket at the start of your cut.
-
Lower the boom and extend the arm.
-
Curl the bucket while pulling the arm back and slightly lowering the boom.
-
Raise the boom and swing to your dump location.
-
Open the bucket to dump material.
-
Swing back and repeat.
Tips for efficient digging:
-
Let the machine do the work – don’t force it.
-
Use the arm (dipper) for most digging power – it has more leverage than the boom.
-
Keep bucket teeth angled slightly down.
-
Dig in layers (4–6 inches at a time) rather than trying to take a full bucket depth.
-
Never dig under the machine – keep tracks level and stable.
5. Trenching
Step‑by‑step:
-
Mark the trench line with stakes and string.
-
Position the machine with tracks parallel to the trench.
-
Start at the far end and work toward the machine.
-
Dig to full depth at the starting point, then move back.
-
Maintain consistent depth and slope (1–2% for drainage).
-
Stockpile spoil on one side, leaving room to work.
Depth control: Use the boom and arm together for precise depth. Check frequently with a tape measure or laser level.
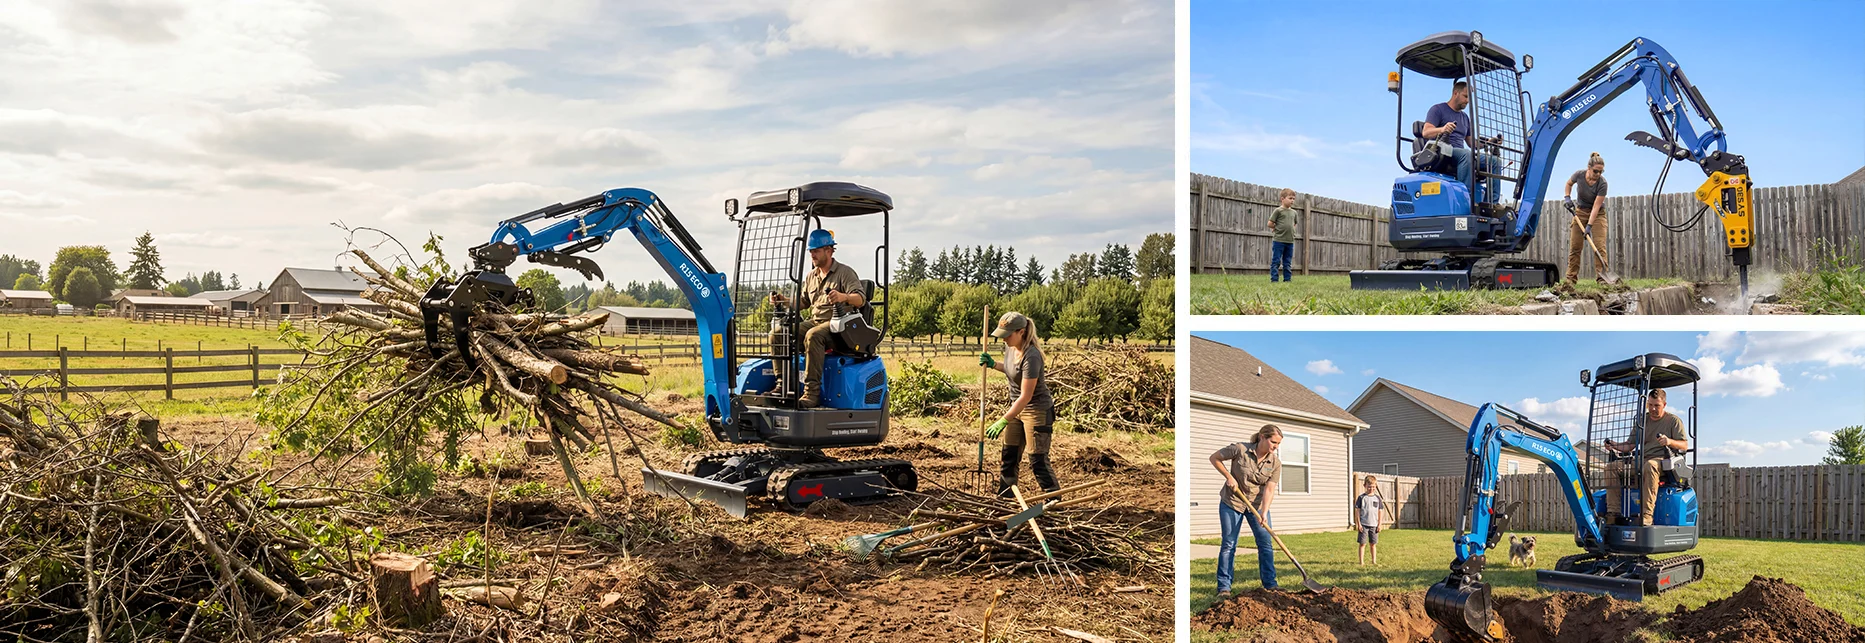
6. Grading and Leveling
Using the bucket:
-
Open the bucket flat (like a blade).
-
Lower the boom until the bucket rests on the ground.
-
Drive backward slowly, keeping the bucket angle constant.
-
Adjust boom height to control cut depth.
Using a grading blade (recommended):
-
Attach the blade using the quick coupler.
-
Set blade angle (10–15° for pushing material sideways).
-
Lower blade to desired height, drive forward or backward.
Creating a crowned driveway:
-
Start at the center line. Push material to the right from center to edge.
-
Then push material to the left from center to edge.
-
The center will remain 1–2 inches higher than the edges.
7. Common Beginner Mistakes and How to Avoid Them
| Mistake | Why It Happens | How to Avoid |
|---|---|---|
| Digging too deep too fast | Trying to take too much material | Take 4‑6 inch bites, not full bucket depth |
| Forgetting to look behind | Focused on bucket | Make a habit: look back before every swing |
| Working on uneven ground | Machine feels unstable | Use blade to level the machine first |
| Gripping joysticks too tight | Nervousness | Relax – pilot controls are sensitive |
| Ignoring the seatbelt | “Just moving a little” | Always wear it – ROPS only works if you’re inside |
8. 常见问题解答
Q: How long does it take to become proficient?
A: Basic competency takes 2–4 hours. Proficiency for complex tasks (fine grading, working near obstacles) takes 20–40 hours of practice.
Q: Do I need a license to operate a mini excavator on my own property?
A: No. For personal use on your land, no license is required. Commercial work may have different rules – check local regulations.
Q: What’s the hardest part for beginners?
A: Coordinating multiple controls simultaneously (e.g., swinging while lowering the boom). Practice each function separately before combining.
Q: Can I use attachments as a beginner?
A: Yes. Start with a standard bucket. Once comfortable, add a grading blade or thumb. Use the quick coupler to change attachments – it takes 30 seconds from the cab.
9. Conclusion
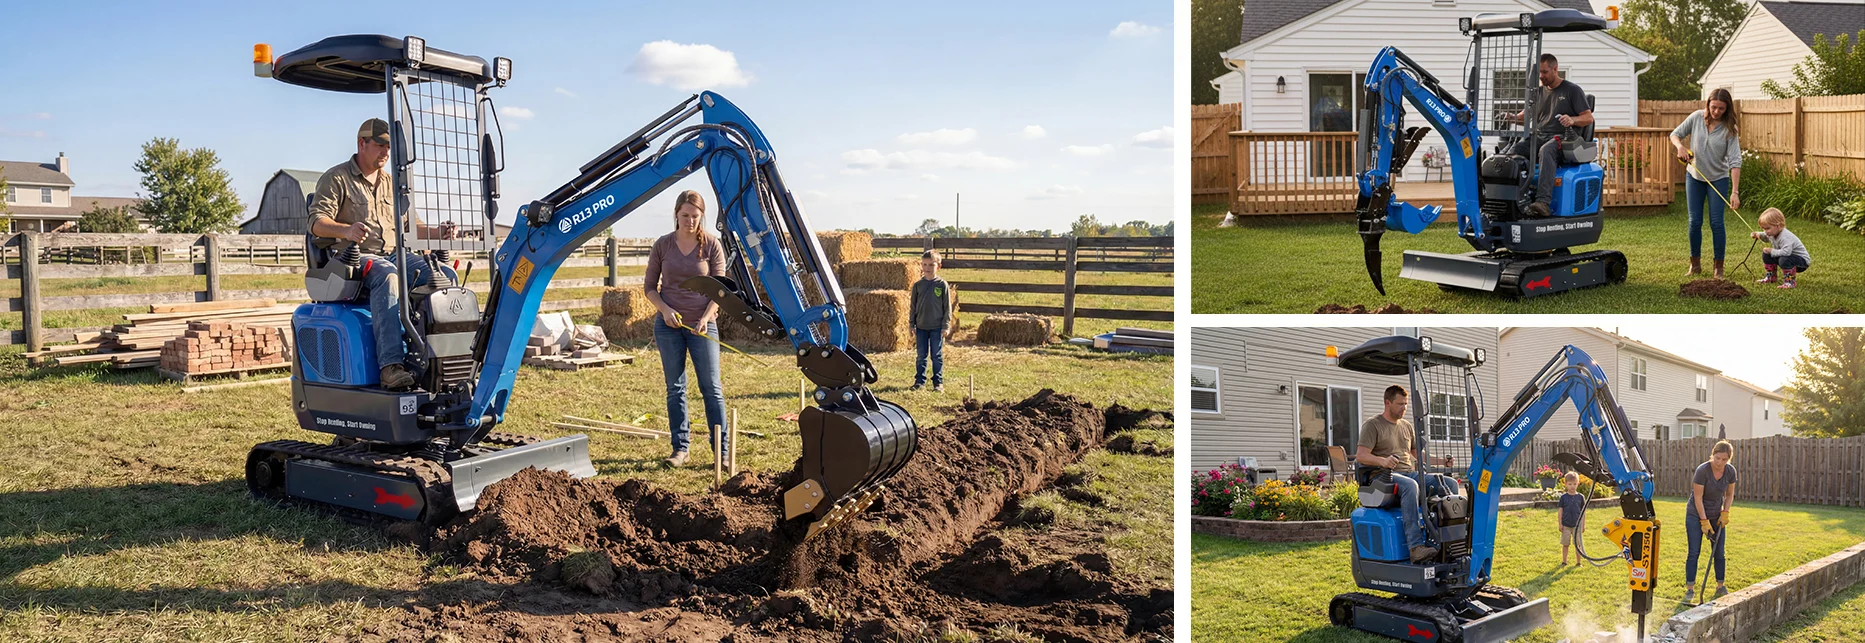
Operating a mini excavator is a skill anyone can learn with practice and patience. Start slowly, focus on safety, and build your skills progressively. Within a few weekends, you will be tackling projects you never thought possible. RIPPA machines are designed with beginners in mind – intuitive controls, safety features, and excellent visibility make learning easier.
Next step: Watch RIPPA’s beginner video series before your first operation, then practice in an open area for 2‑4 hours. You will be surprised how quickly you learn.
 首页
首页
 产品
产品
 电子邮件
电子邮件
 WhatsApp

