Pikavastaus: Voiko aloittelija oppia käyttämään minikaivinkonetta?
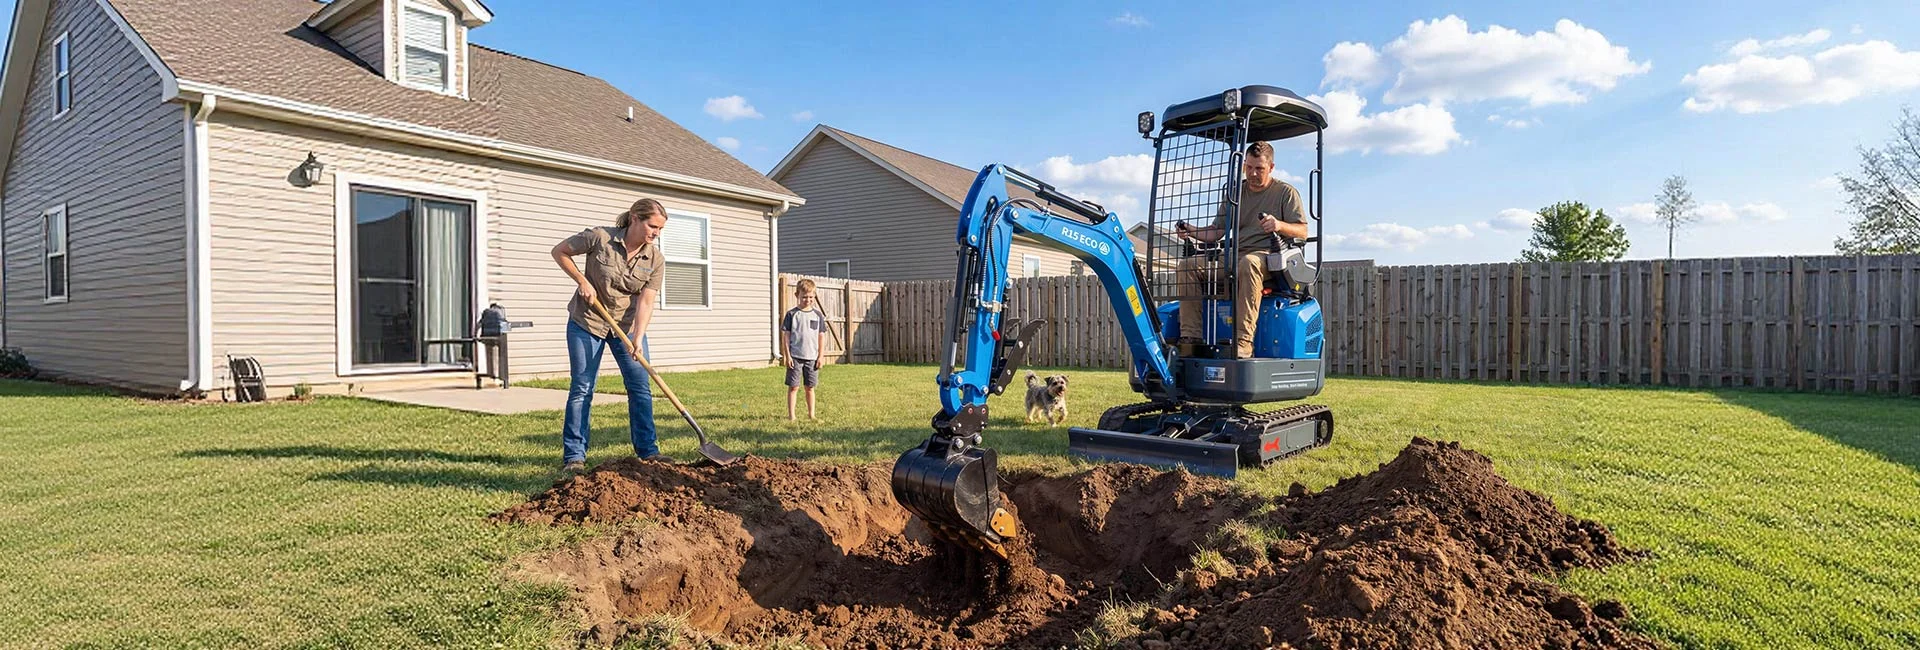
Yes. Most first‑time operators feel comfortable after 2–4 hours of practice. Modern mini excavators feature intuitive pilot‑operated joysticks, an ISO/SAE pattern switch, and excellent visibility. Start in an open area, practice basic movements, then move to simple tasks like digging a hole or trench. Always wear your seatbelt and perform a daily inspection before use.
Oppimisen aikajana:
-
First hour: Move machine, basic joystick functions.
-
2–4 hours: Dig a straight trench, simple grading.
-
1–2 days: Most homeowner projects (driveways, planting, light stump removal).
-
1 week: Fine grading, working near obstacles, using attachments confidently.
1. Before You Start – Safety and Inspection
Henkilökohtaiset suojavarusteet (PPE):
-
Hard hat, safety glasses, hearing protection, high‑visibility vest, steel‑toed boots, gloves, and always the seatbelt.
Daily pre‑operation check (5–10 minutes):
-
Visual walk‑around: Check for fluid leaks, damaged hoses, loose bolts, and track condition.
-
Fluid levels: Engine oil, hydraulic oil, coolant, fuel.
-
Grease fittings: Boom, arm, bucket linkage, swing bearing.
-
Function test: Cycle all controls to ensure smooth operation.
Rakennuspaikan valmistelu:
-
Call 811 to mark underground utilities.
-
Clear obstacles and establish a safety zone (no bystanders within swing radius).
-
Identify overhead power lines – keep at least 10 feet distance.
2. Hallintalaitteiden ymmärtäminen
Mini excavators use two joysticks for most operations. RIPPA machines feature pilot‑operated joysticks that require 30% less effort than mechanical linkages.
Vasen ohjaussauva:
-
Forward/back = swing left/right.
-
Left/right = dipper (arm) out/in.
Oikea ohjaussauva:
-
Forward/back = boom down/up.
-
Left/right = bucket curl/dump.
Jalkapolkimet:
-
Left pedal = left track forward/back.
-
Right pedal = right track forward/back.
-
Both pedals together = straight travel.
-
One forward, one back = spin turn.
Kuvion vaihto: Most RIPPA models include an ISO/SAE selector. Choose whichever pattern feels natural – there is no “right” pattern, only comfort.

222
3. Basic Digging Technique
Kaivauskierto:
-
Position the bucket at the start of your cut.
-
Lower the boom and extend the arm.
-
Curl the bucket while pulling the arm back and slightly lowering the boom.
-
Raise the boom and swing to your dump location.
-
Open the bucket to dump material.
-
Swing back and repeat.
Vinkkejä tehokkaaseen kaivamiseen:
-
Let the machine do the work – don’t force it.
-
Use the arm (dipper) for most digging power – it has more leverage than the boom.
-
Keep bucket teeth angled slightly down.
-
Dig in layers (4–6 inches at a time) rather than trying to take a full bucket depth.
-
Never dig under the machine – keep tracks level and stable.
4. Trenching and Grading
Trenching:
-
Mark the trench line with stakes and string.
-
Position tracks parallel to the trench.
-
Start at the far end and work toward the machine.
-
Dig to full depth at the starting point, then move back.
-
Maintain consistent depth and slope (1–2% for drainage).
-
Stockpile spoil on one side, leaving room to work.
Grading with a bucket:
-
Open the bucket flat (like a blade).
-
Lower the boom until the bucket rests on the ground.
-
Drive backward slowly, keeping the bucket angle constant.
-
Adjust boom height to control cut depth.
Grading with a blade attachment:
-
Attach the blade using the quick coupler.
-
Set blade angle (10–15° for pushing material sideways).
-
Lower blade to desired height, drive forward or backward.
5. Common Beginner Mistakes and How to Avoid Them
| Virhe | Miksi näin tapahtuu | Kuinka välttää |
|---|---|---|
| Kaivetaan liian syvälle liian nopeasti | Yritetään käsitellä liian paljon aineistoa | Ota 4–6 tuuman suupaloja, älä koko kauhan syvyydeltä |
| Unohtaa katsoa taakse | Keskittynyt kauhaan | Ota tavaksi: katso taakse ennen jokaista lyöntiä |
| Työskentely epätasaisella alustalla | Kone tuntuu epävakaalta | Tasoita kone ensin terällä |
| Joystickien liian tiukka pitäminen | Hermostuneisuus | Ota rennosti – ohjaimen hallintalaitteet ovat herkkiä |
| Turvavyön laiminlyönti | “Liikun vain vähän” | Käytä sitä aina – ROPS-suojarakenne toimii vain, jos olet sen sisällä |
6. Frequently Asked Questions
K: Kuinka kauan kestää, ennen kuin tästä tulee sujuvaa?
A: Basic competency takes 2–4 hours. Proficiency for complex tasks (fine grading, working near obstacles) takes 20–40 hours of practice.
K: Tarvitsenko ajokortin, jotta voin käyttää minikaivinkonetta omalla tontillani?
V: Ei. Henkilökohtaiseen käyttöön omalla tontillasi ei vaadita lupaa. Kaupalliseen toimintaan saattaa sovelleta erilaisia sääntöjä – tarkista paikalliset määräykset.
K: Mikä on aloittelijoille vaikeinta?
A: Useiden ohjauslaitteiden samanaikainen käyttö (esim. puomin laskeminen samalla kun sitä käännetään). Harjoittele kutakin toimintoa erikseen ennen niiden yhdistämistä.
7. Conclusion
Käyttö minikaivinkone on taito, jonka kuka tahansa voi oppia harjoittelun ja kärsivällisyyden avulla. Aloita rauhallisesti, keskity turvallisuuteen ja kehitä taitojasi vähitellen. Muutaman viikonlopun kuluttua olet jo toteuttamassa projekteja, joita et olisi koskaan uskonut mahdollisiksi. RIPPA-koneet on suunniteltu nimenomaan aloittelijoille – intuitiiviset hallintalaitteet, turvaominaisuudet ja erinomainen näkyvyys helpottavat oppimista.
Seuraava vaihe: Watch RIPPA’s beginner video series before your first operation, then practice in an open area for 2‑4 hours. You will be surprised how quickly you learn.
 Etusivu
 Tuotteet
 Sähköposti
 WhatsApp

